The Art of Making a Timelapse with Photos
Are you ready to take your photography and videography skills to the next level? Creating a timelapse with photos can provide an impressive visual experience that will captivate your audience. In this comprehensive guide, we will explore the process of making a timelapse using photos and share valuable insights to help you achieve stunning results.
Understanding Timelapse Photography
Timelapse photography involves capturing a sequence of photos at set intervals and then stitching them together to create a time-lapse video. This technique allows you to condense hours, days, or even weeks into a short video clip, showcasing the passage of time in a visually compelling manner.
Equipment Needed
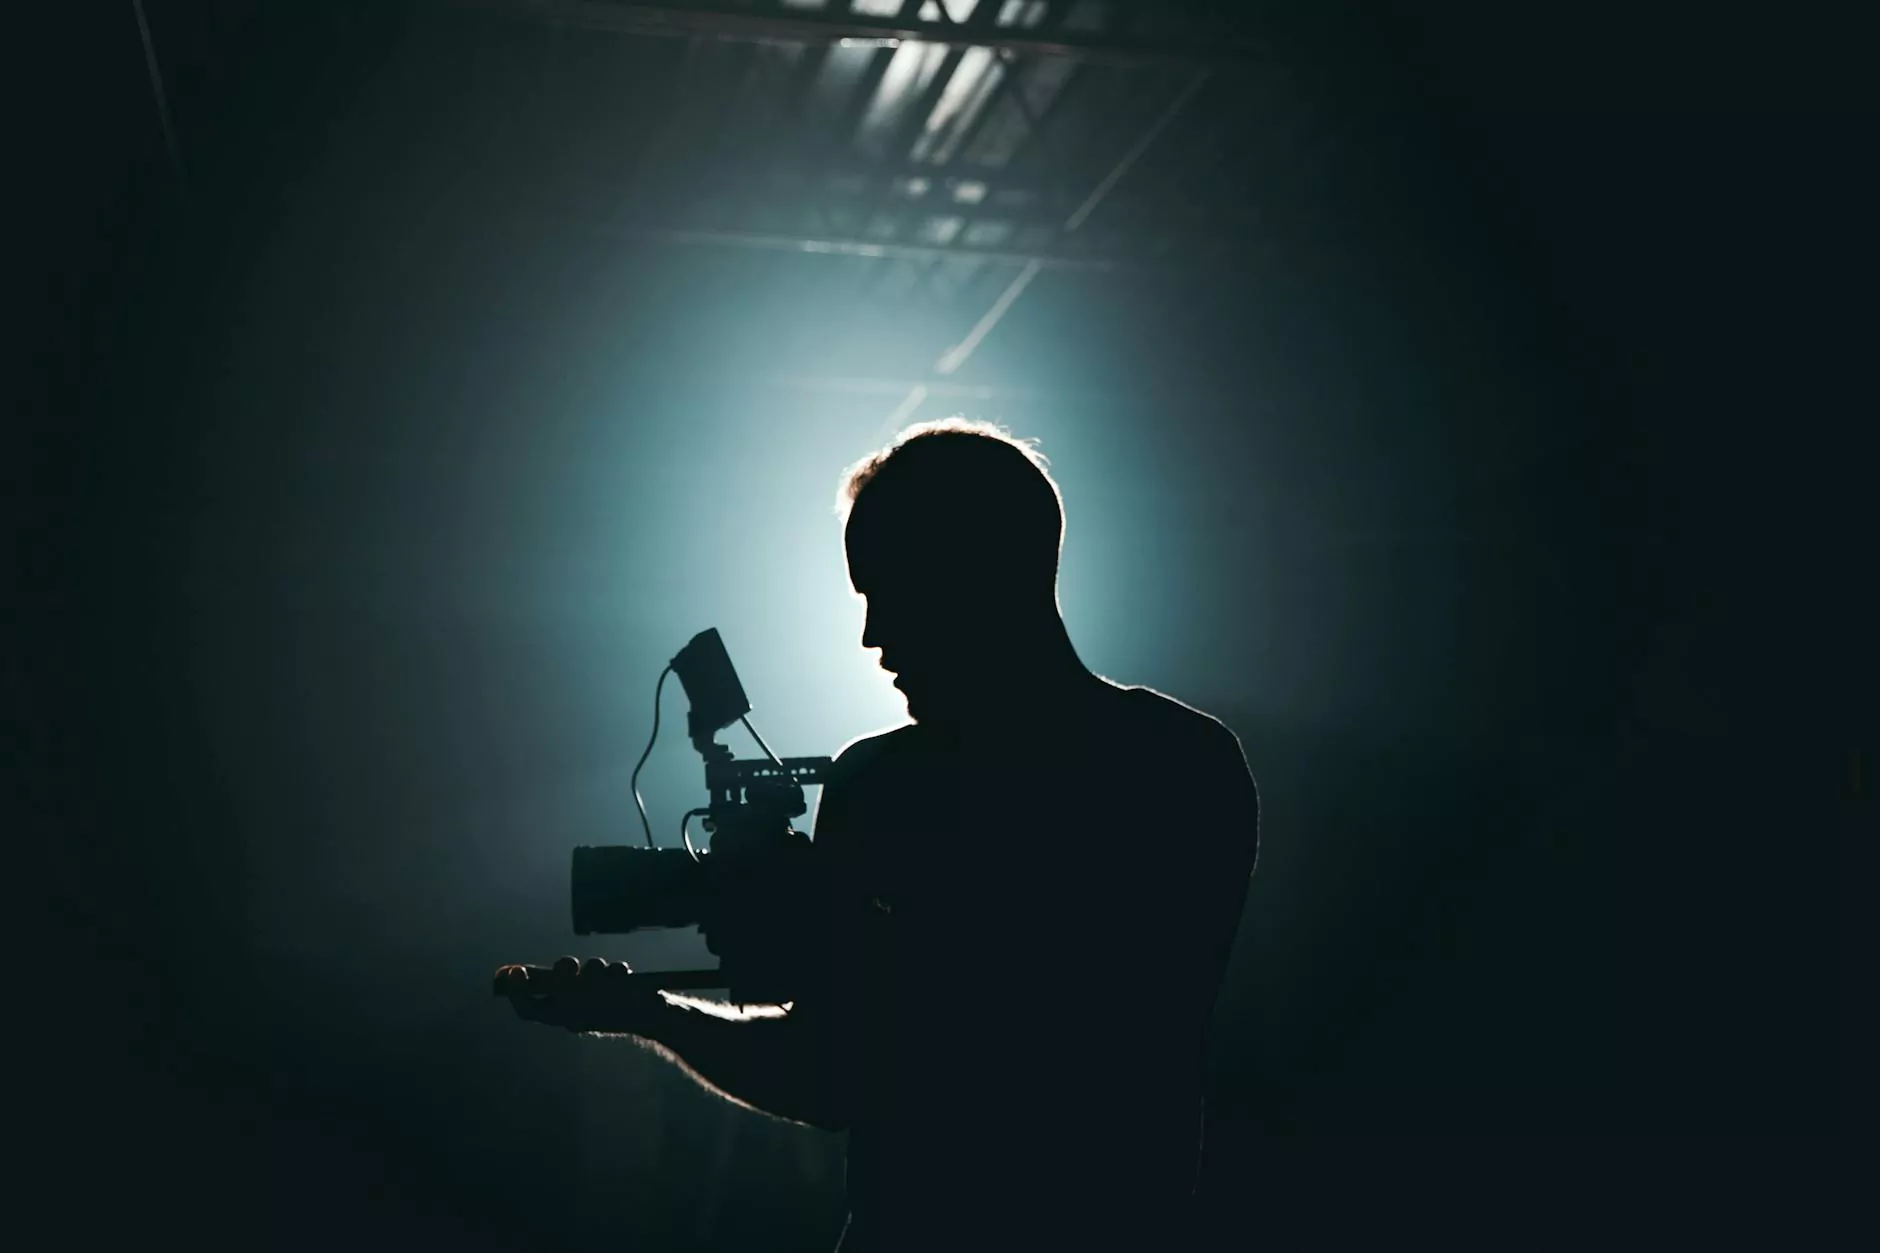
Before you start creating your timelapse with photos, make sure you have the right equipment. You will need a DSLR or mirrorless camera, a sturdy tripod, and an intervalometer to control the timing of your shots. Additionally, consider using a high-quality lens to ensure sharp and detailed images.
Capturing the Photos
To begin the process, find a captivating scene or subject that you want to capture in your timelapse. Set up your camera on the tripod and adjust the settings to achieve the desired exposure and composition. Make sure to shoot in RAW format to retain maximum flexibility during post-processing.
Setting the Interval
The key to creating a smooth and seamless timelapse is setting the interval between shots. The interval will depend on the speed at which the scene is changing and the duration of the final video you want to create. Experiment with different intervals to find the perfect balance for your timelapse.
Post-Processing
Once you have captured all the photos for your timelapse, it's time to bring them together in post-processing. Use editing software like Adobe Lightroom or Photoshop to edit and enhance each photo. Pay attention to color correction, exposure adjustments, and sharpening to ensure a professional finish.
Creating the Timelapse Video
After editing your photos, import them into a video editing program such as Adobe Premiere Pro or Final Cut Pro. Arrange the photos in sequence and adjust the timing to create a smooth transition between frames. Add music, transitions, and effects to enhance the visual appeal of your timelapse video.
Sharing Your Timelapse
Once you have created your stunning timelapse with photos, it's time to share it with the world. Consider uploading your video to social media platforms like Instagram, YouTube, or Vimeo to reach a wider audience. You can also showcase your timelapse on your website or portfolio to attract potential clients.
Conclusion
Creating a timelapse with photos is a rewarding and captivating process that can elevate your photography and videography skills. By following the steps outlined in this guide and putting your creative vision to work, you can produce stunning timelapse videos that will leave a lasting impression on your audience.
Embrace the art of timelapse photography and unleash your creativity today with bonomotion.com!
make a timelapse with photos